The VR 35 allows you to mop floors by replacing the dustbin with a water tank. This article explains how to refill the tank, attach the mop cloth, and begin mopping safely.
1. Important Notes Before You Begin
-
Do not use the water tank on carpets. Roll up carpet edges before mopping.
-
Make sure there is enough clean water in the tank before starting.
-
Always remove the water tank before charging or refilling.
-
If mopping is paused for a refill or mop cloth cleaning, the robot may restart the cleaning path.
2. Step-by-Step Instructions
Step 1: Water Refill
-
Open the water inlet cap.
-
Slowly pour clean tap water using a cup.
-
Close the cap tightly after refilling.
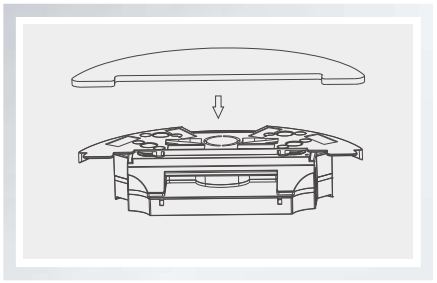
Step 2: Attach the Mop Cloth
-
Align the mop cloth with the bottom of the tank.
-
Secure it using the rings on both sides so it fits tightly.
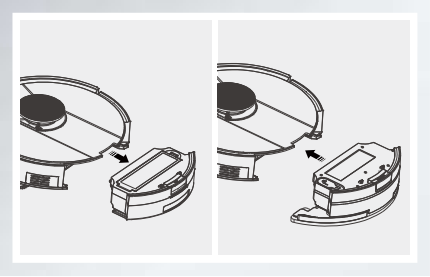
Step 3: Install the Water Tank
-
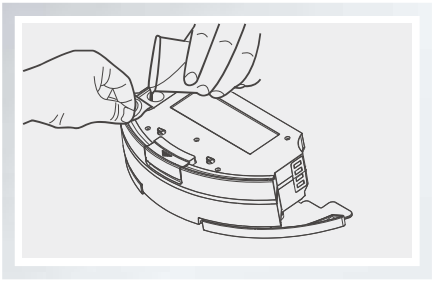
Press the dustbin release button to remove the dustbin.
-
Insert the water tank into the same slot and ensure it clicks into place.
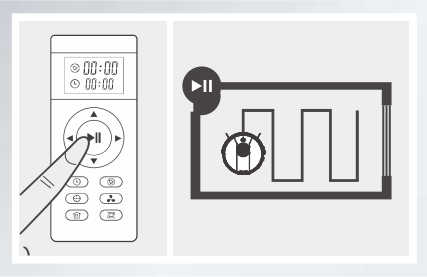
Step 4: Start Mopping
-
Press the Auto button on the robot or remote.
-
The VR 35 will begin sweeping and mopping in one operation.
Usage Tips
-
Mop one room at a time for the best cleaning results.
-
If you refill the tank during cleaning, move the robot manually to the next room.
-
Clean the mop cloth between sessions to prevent streaking.
If you're unsure about tank setup or experience issues, please contact the Floorbotics support team for assistance.